

3 Tips to help improve your drone footage
Flying drones can be a lot of fun, but it can also be very daunting if you're trying it for the first time. Once you spend some time playing around with the controls and getting familiar with the quirks of flying, you might feel stuck on what to do next. I've got some basic tips to help you take your drone skills to the next level and make some amazing aerial footage.
Disclosure: This post contains affiliate links. By purchasing through our affiliate links, you are directly supporting our blog and us as creators which helps us make more videos and articles! So thank you!
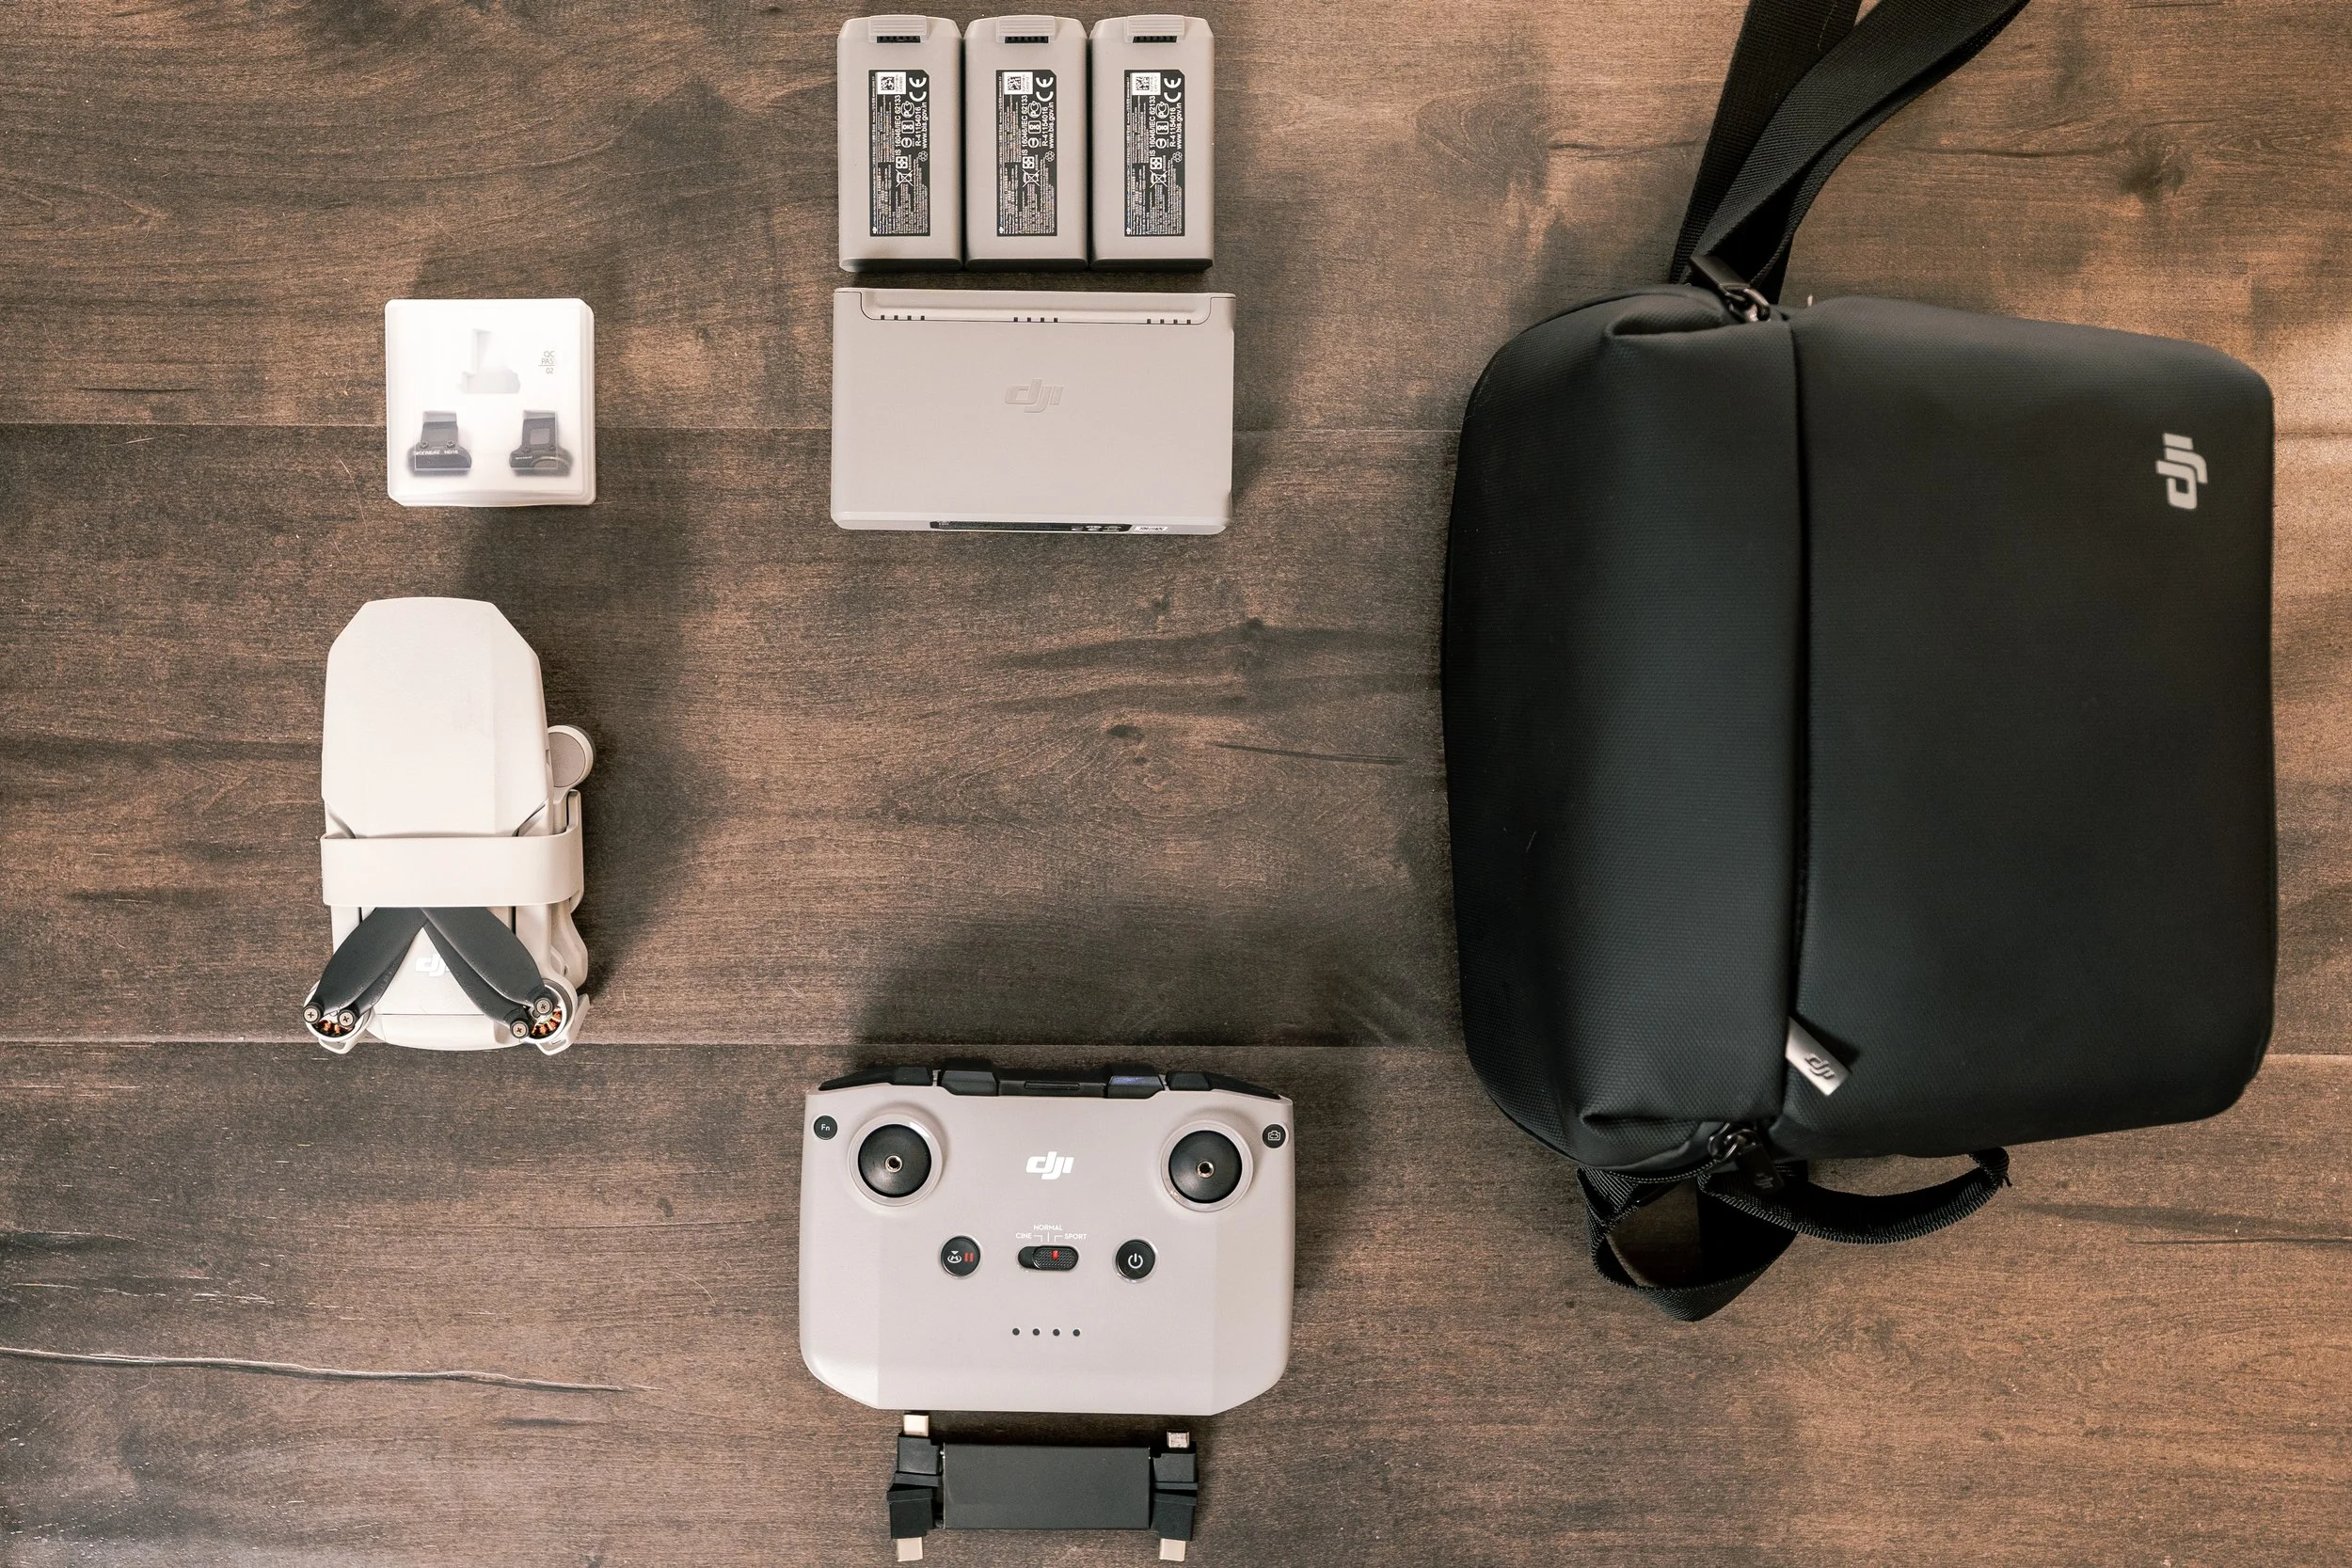
My Gear
I don't like to lean on gear too much, but you need a drone to fly a drone. The gear I'm using is:
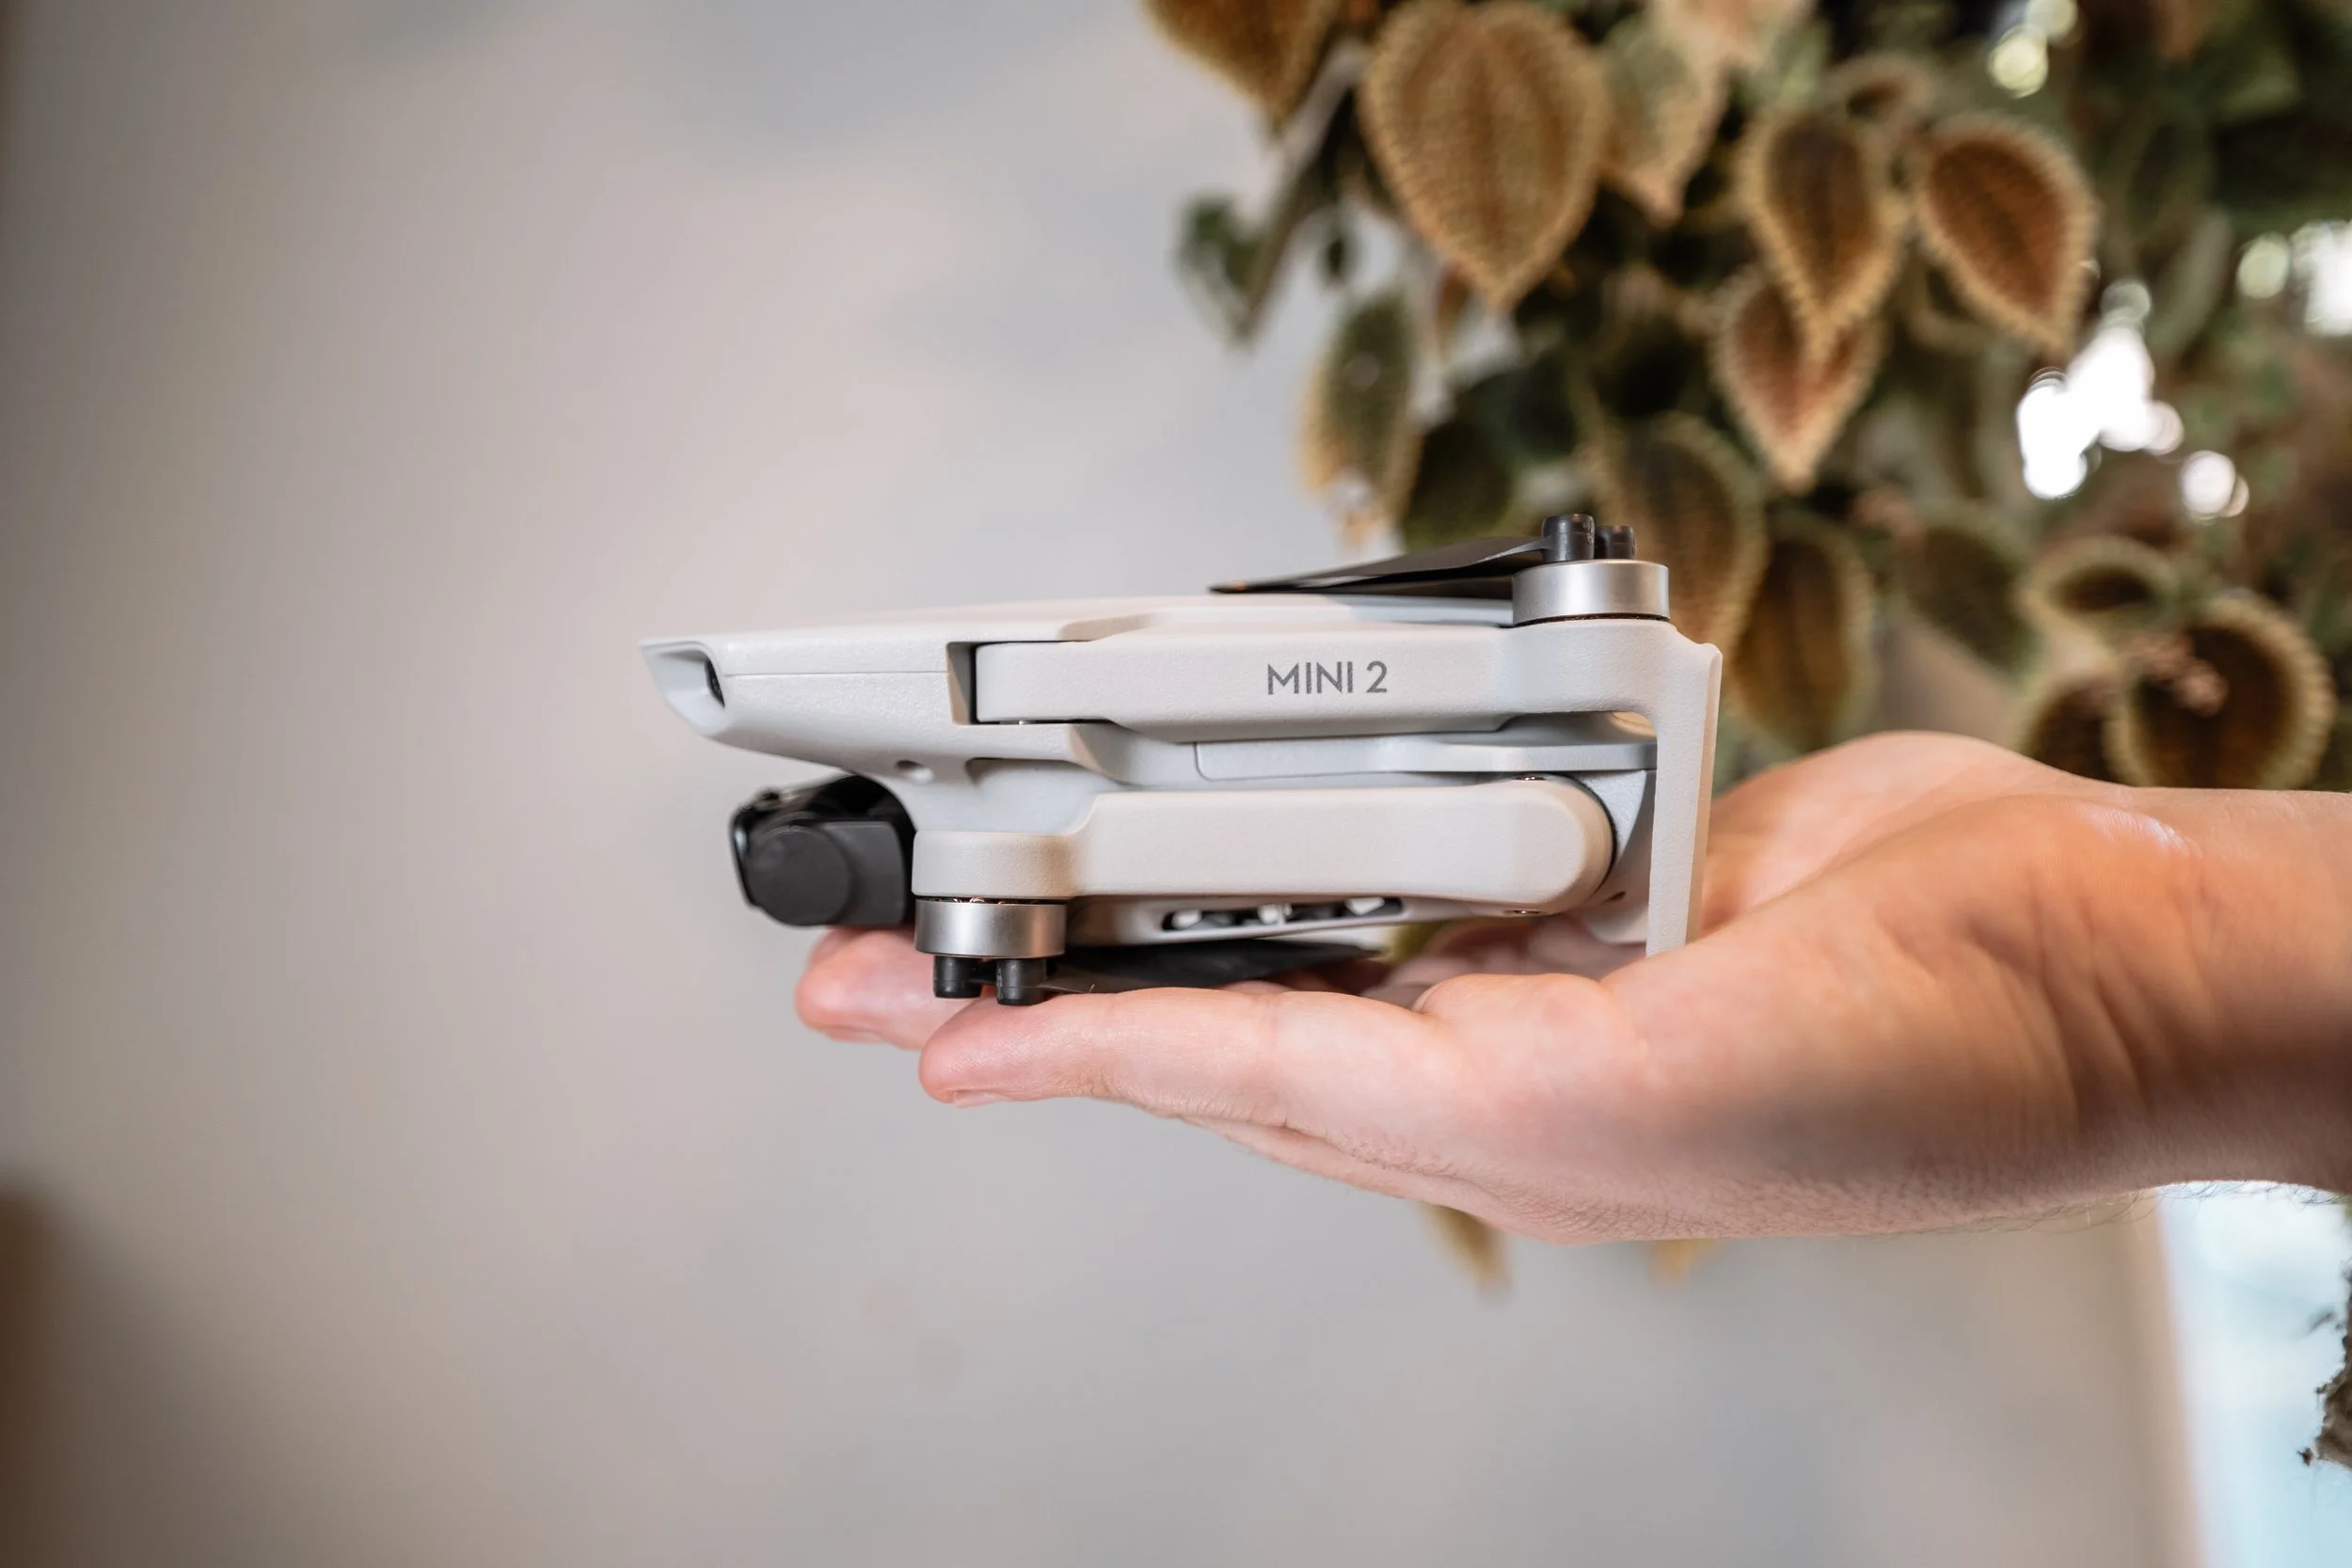
- DJI, Mavic Mini 2 (Fly more combo)
Tips
DON"T USE AUTO
Auto can be good for those learning the drone and flying for the first time, but if you want to start getting better images, you have to start learning how to shoot in manual. It can be daunting at first, but if you put the time in to practice, it'll give you consistent videos that will be much easier to edit. The main upside to shooting in auto is that the image won't change on you when you move the drone to different lighting or even just slightly change elevation. Shooting in manual gives you complete control and a consistent look for the duration of your flight.
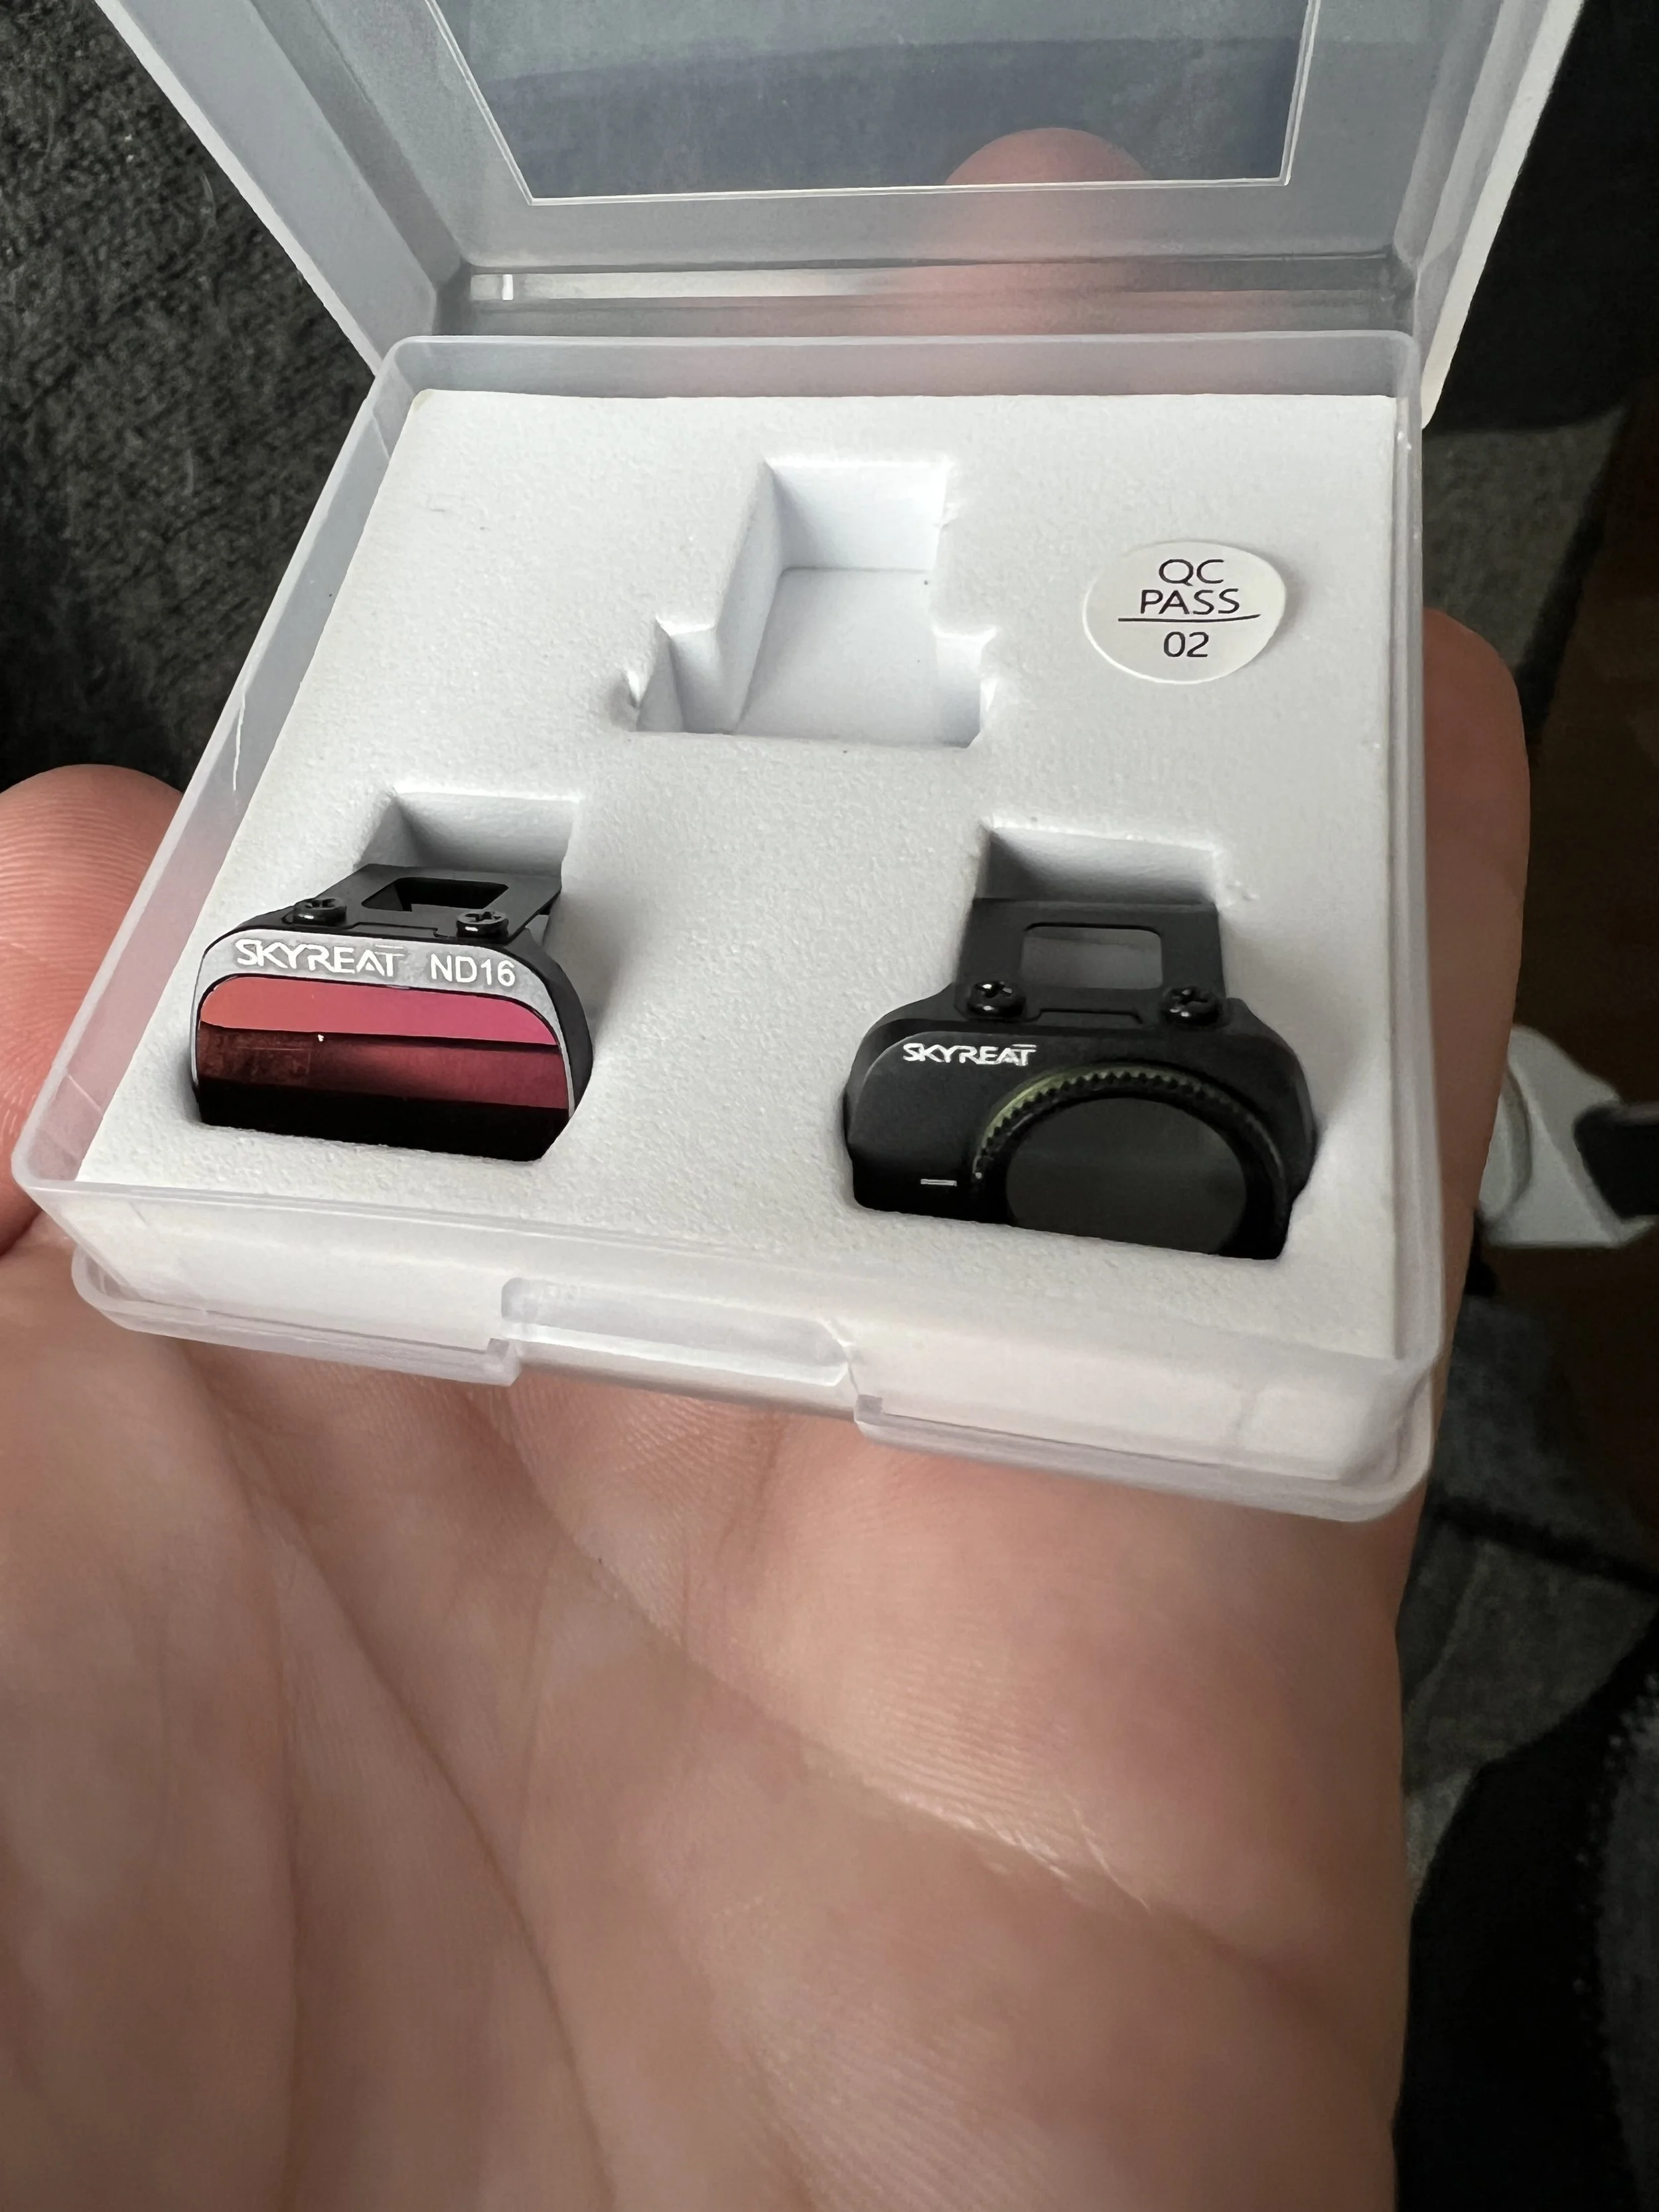
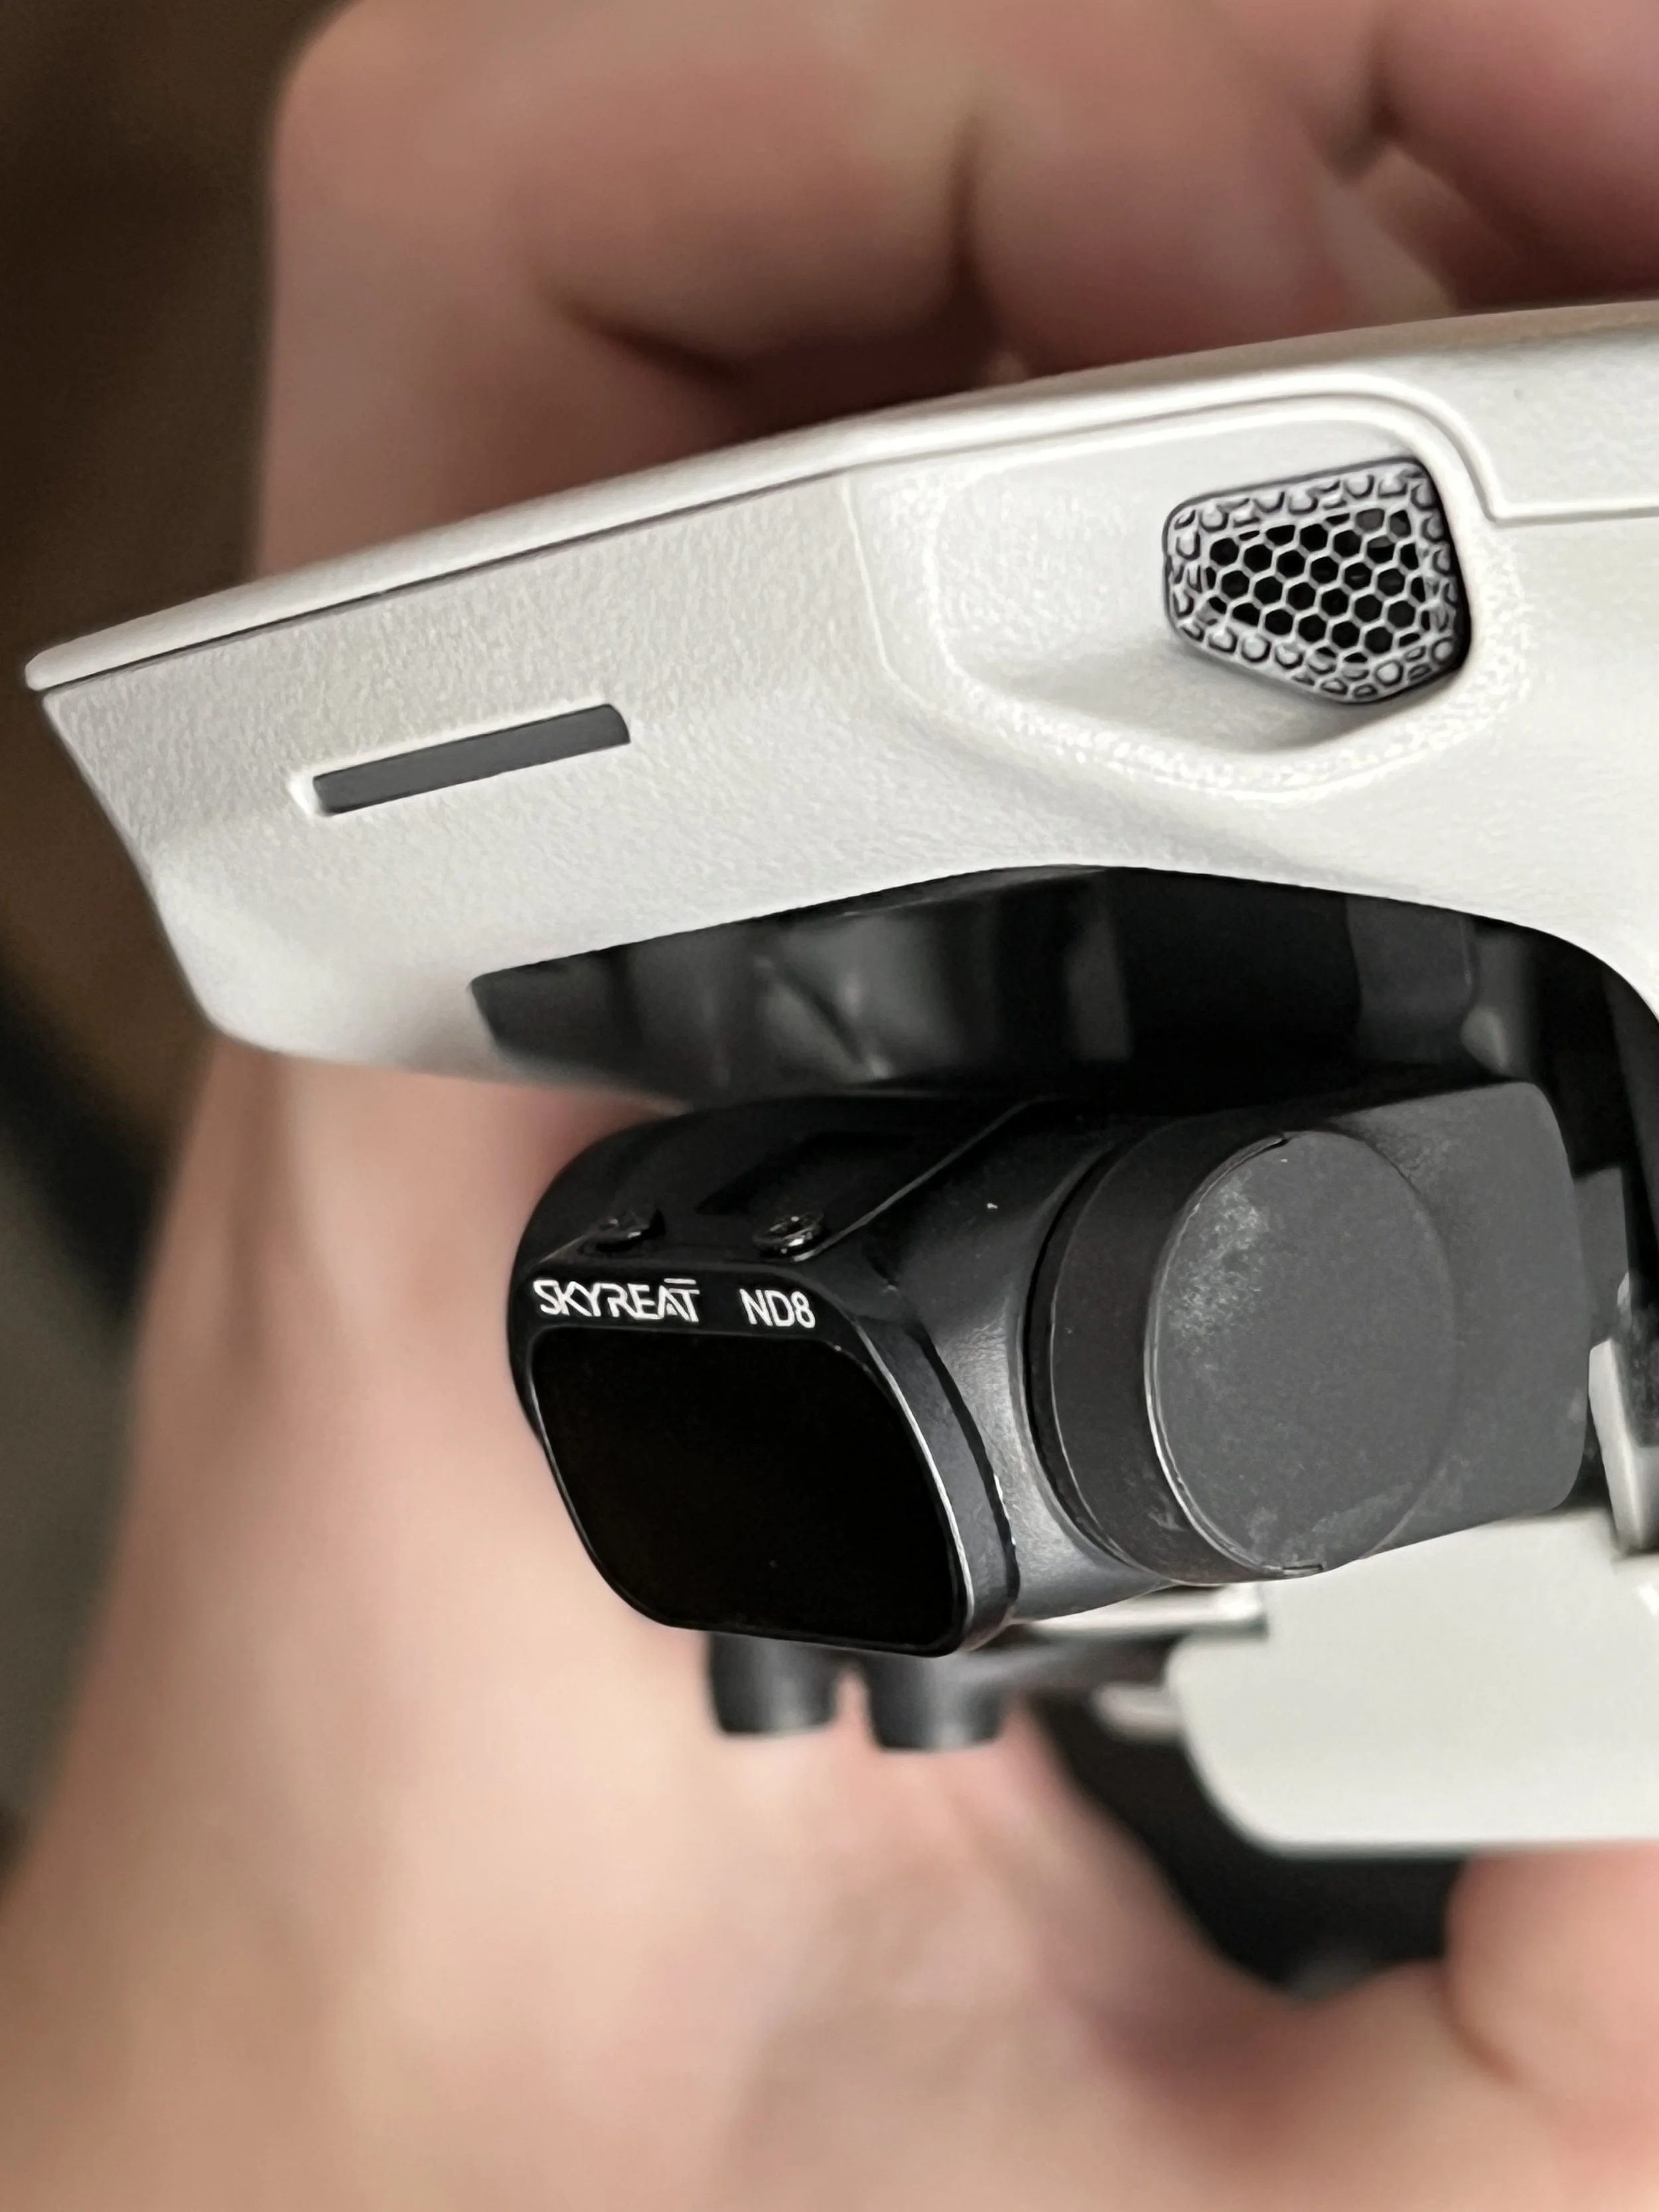
2. Use an ND filter
This tip is something that will save your image in more ways than you think. the main things you want to remember when shooting in manual are:
- ISO = your camera sensor's sensitivity to light. A higher number means more noise
- Shutter speed - This affects motion blur. The higher the number the less motion blur, but the darker the image
You also want to keep the 180 rule in mind. This means that if you are shooting in 24 frames per second, you would double this number and that would be your shutter speed. For example, 24fps would convert to 1/50. Since there usually isn't a 1/48, You would use the closest thing. This gives your video a very appealing motion blur that compliments the framerate.
You also want to keep your ISO down to keep your video from being noisy. The problem with this is that your image can oftentimes be too bright and unusable with these two fixed. This is where the ND filter comes in. ND filters are like sunglasses for your camera. It's a filter that attaches to your drone and darkens the image by a set amount. The most common types of nd filters used on drones would be an ND 16 or ND 8. If you are shooting later in the afternoon, this may not need to be used, but during a sunny day, this could save your videos and pictures.
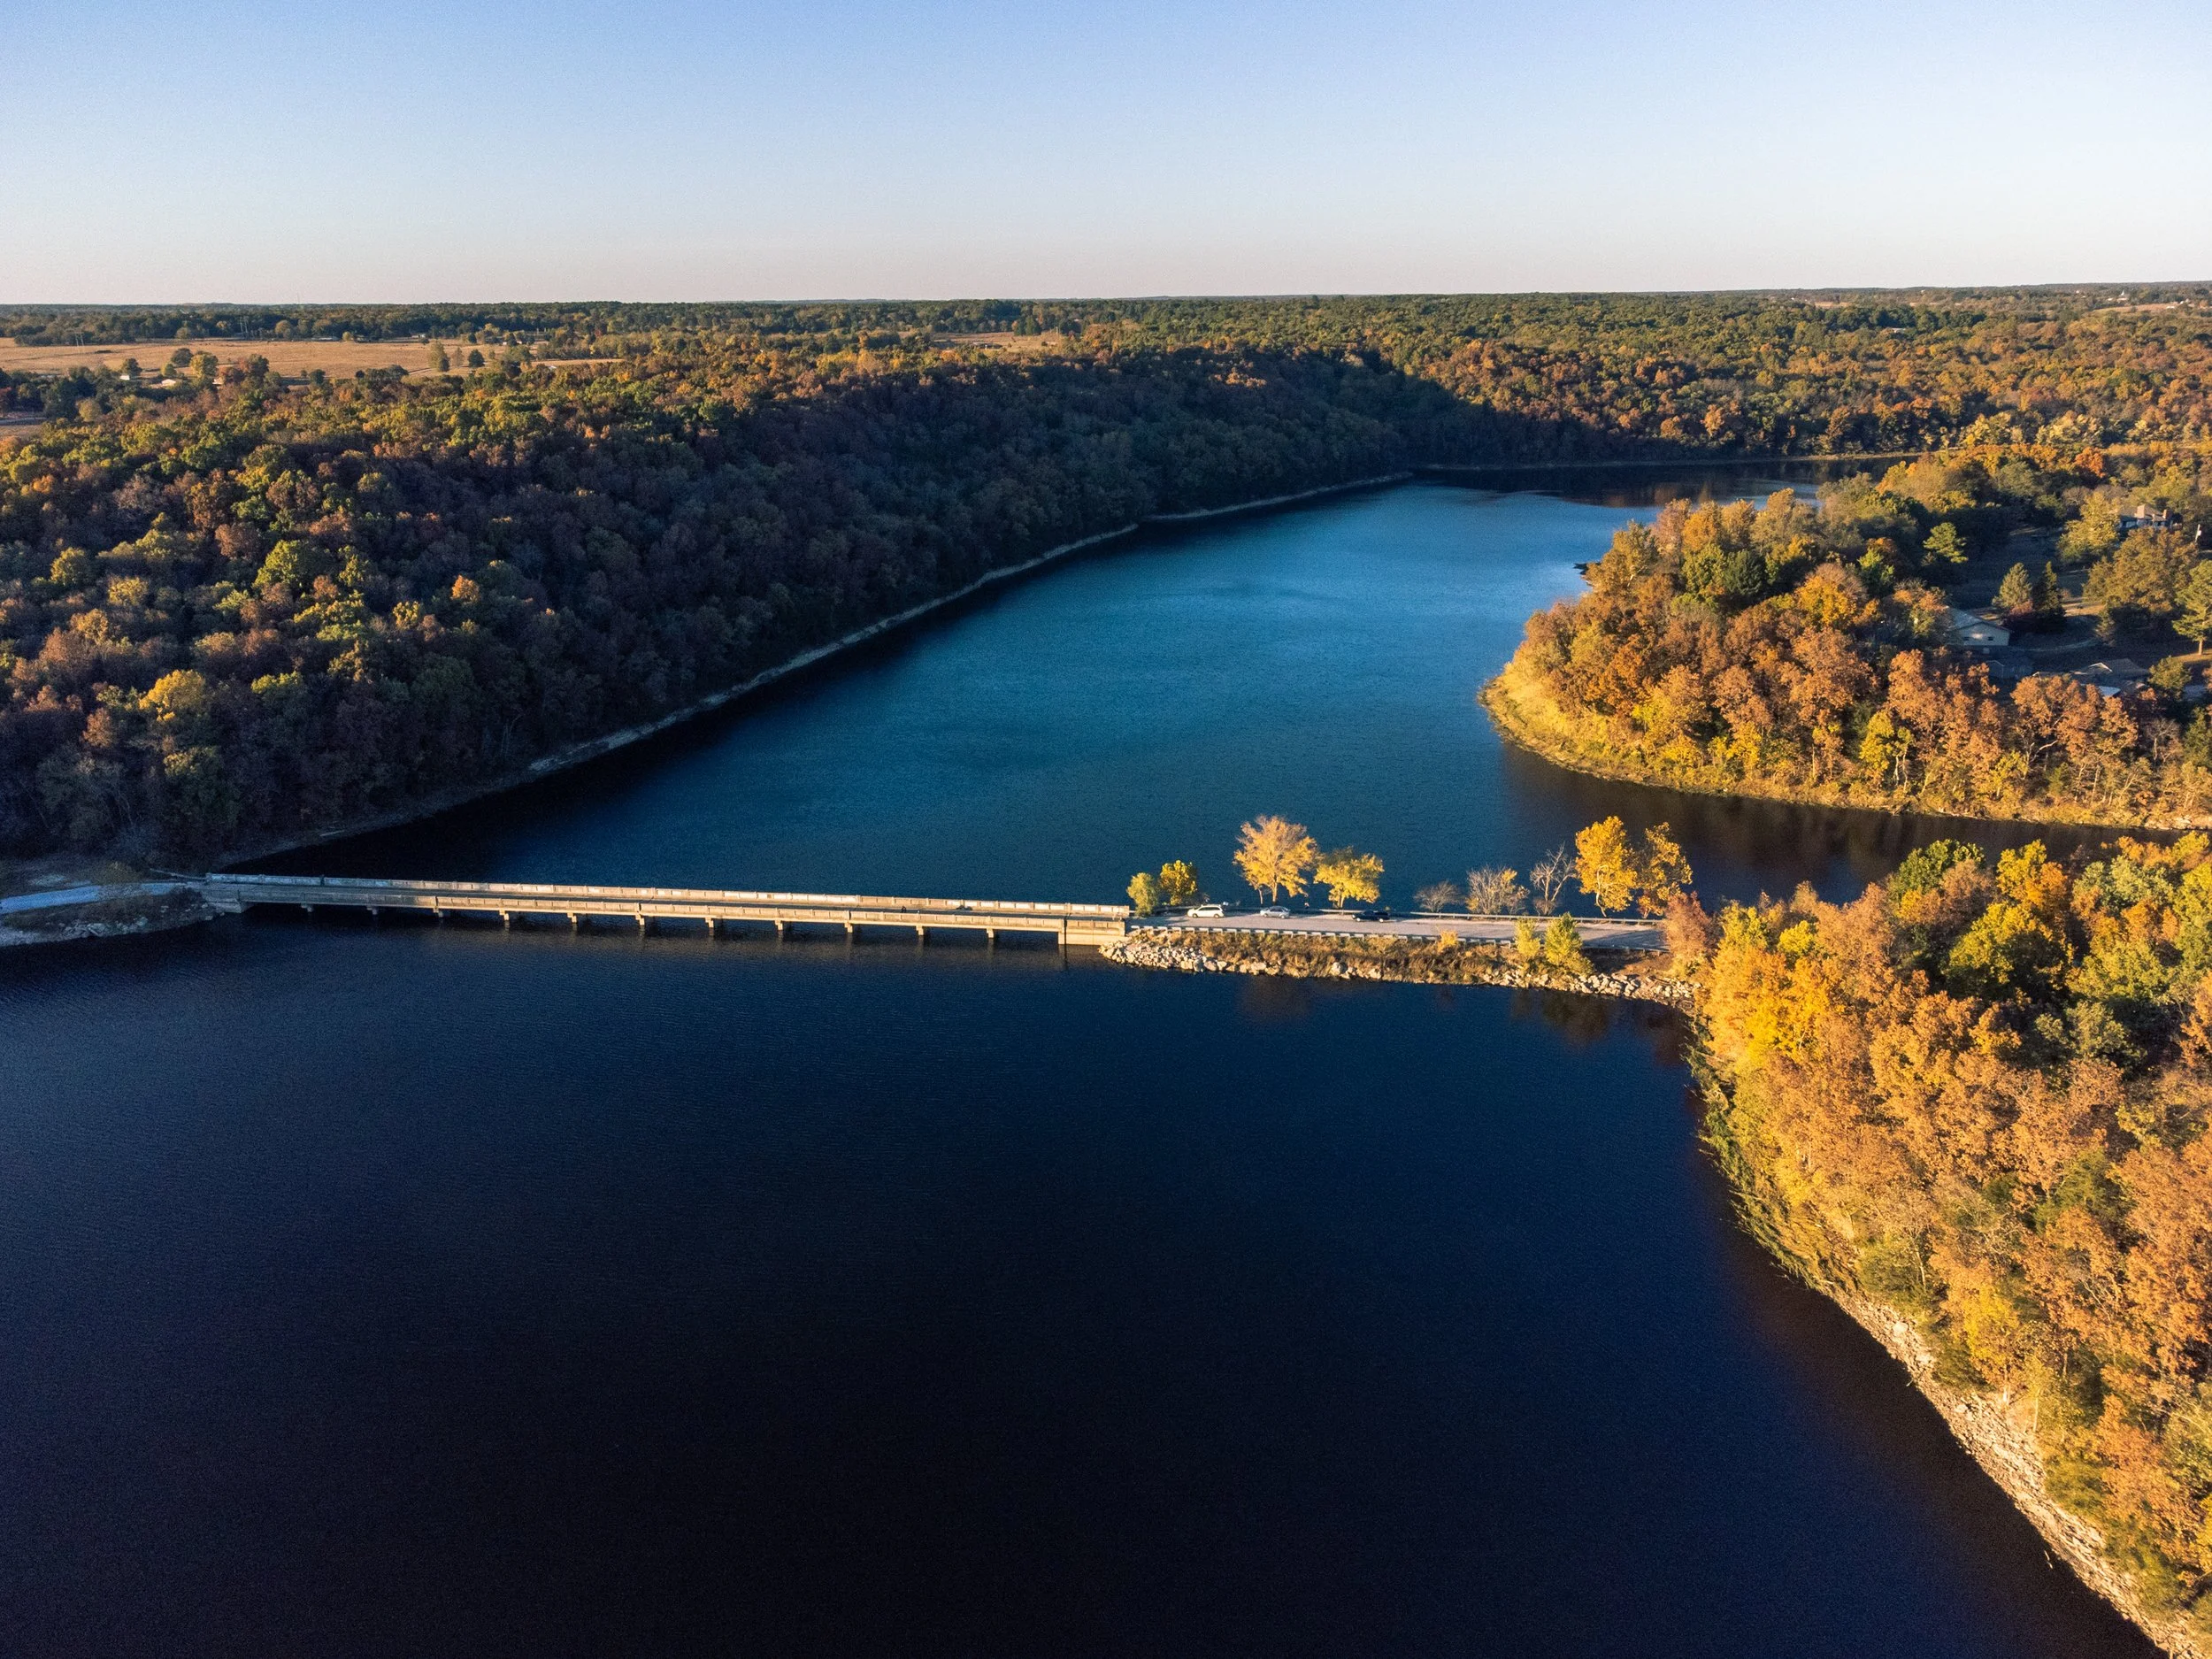
3. Juxtaposition
The last tip here has to do with flying the drone. Once you get the first two down, then all that's left is your flying... mainly. The biggest thing that I see is people moving their drone in a straight line or turning in place. While those can have a place, they aren't necessarily exciting.
I would recommend using Juxtaposing movements. It's really simple. If you're moving one way, try to incorporate a contrasting movement. If you move the drone left, you should try and rotate it right. If you're flying straight, try starting with the gimble down and then raising it as you go. You can even reverse these. It's these contrasting movements that give interest to your shots that aren't there from beginner drone pilots.
Catch the video here
Twitter - https://twitter.com/_Capsoty
  Instagram - https://www.instagram.com/cap_soty/
Instagram - https://www.instagram.com/codyandersonphoto
Youtube: https://www.youtube.com/channel/UC8IXUgbKUQa9CE7jKRPjWXQ